
Elementor is a great WordPress page builder, packed with tons of features and customization options. The theme builder option of Elementor completely revolutionized the WordPress industry. It made easier for web designers to deal less with codes and focus more on the design and user interface.
Using the Element Pack addon plugin will also help to make Elementor more powerful by adding around 60+ additional widgets to Elementor page builder.
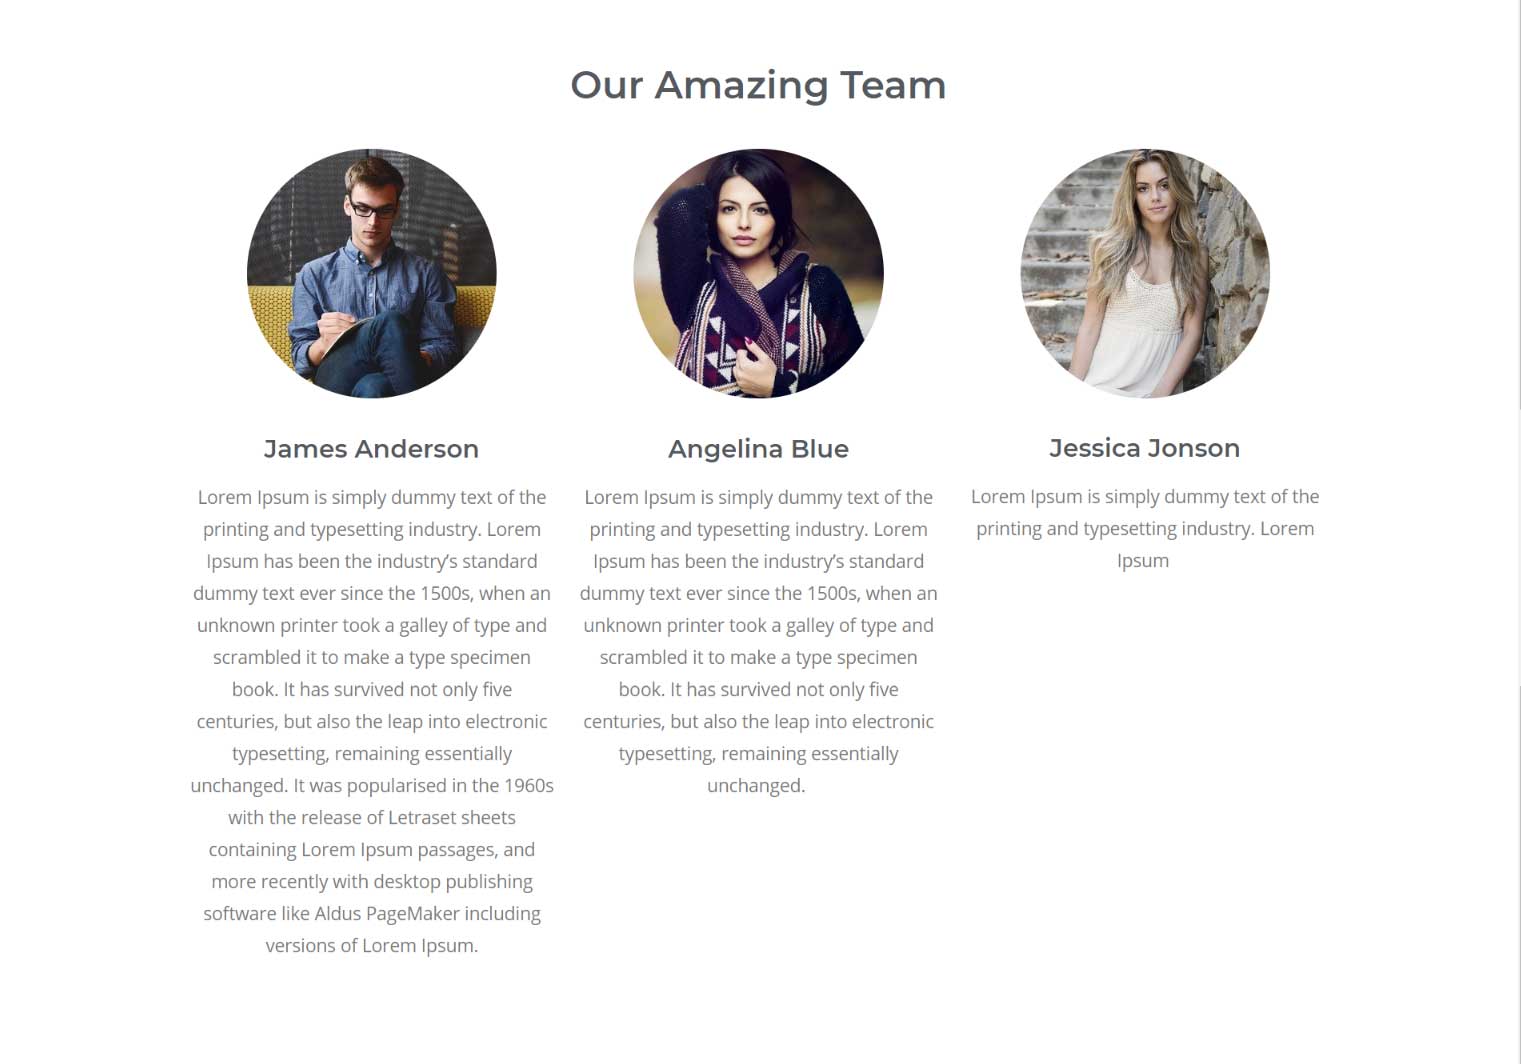
But today in this blog post I am going to discuss about the popup feature of Elementor. You don’t to use popups only to use to show the usual signup forms, or different offers on your ecommerce site. You can also use popups in a more useful way, for example showing the details of a team member when someone clicks on a button to read more details about a team member. Okay let me give you a simple example to explain. Suppose you have a Team Members page or about us page, in that page you have listed down all the members of your team. But the problem is, some of the members have more details and some have less, in the the page turns out to be really messy.
If you have the time, then I would suggest you check out this cool “Team Member Collection for Elementor” addon plugin for Elementor on Codecanyon. It will easily let you list down your team members beautifully, include social icons for each. They have lots of stunning team member templates.
In this blog post, I will show you STEP BY STEP, how you can turn your messy team member page to something more interesting and interactive. Please have a look at the images below to understand what I mean. But heads up! To do this you will need the pro version of Elementor, you can check out the pricing here. Also, instead of reading this blog post you can also watch the video how I did, simply scroll down to the bottom of this blog post and you will find the video.
To add exciting and useful elements in Elementor please check out the Element Pack Addon plugin for Elementor.
before
after

STEP 1: Create the page layout
Let’s start with the simple things first. I am assuming that you are kind of familiar to WordPress and Elementor. In the backend of WordPress, create a new page and setup the page layout as shown below. Add a new page, edit the page with Elementor, set the page layout to Elementor canvas. Then simply add a heading, three columns sections add images, buttons etc. If you have any confusions, then simply scroll down to watch the video.

STEP 2: Go to popups
After successfully creating the page layout, go to popups in Elementor. To do that, simply go to the WordPress dashboard, hover over templates and then click on Popups. Please have a look at the screen shot below.

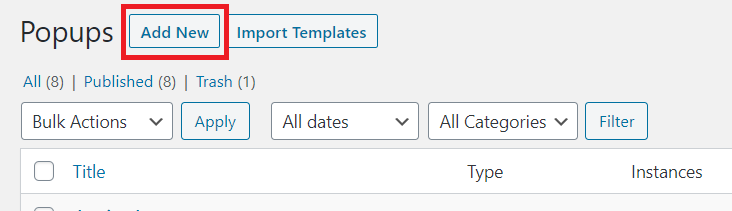
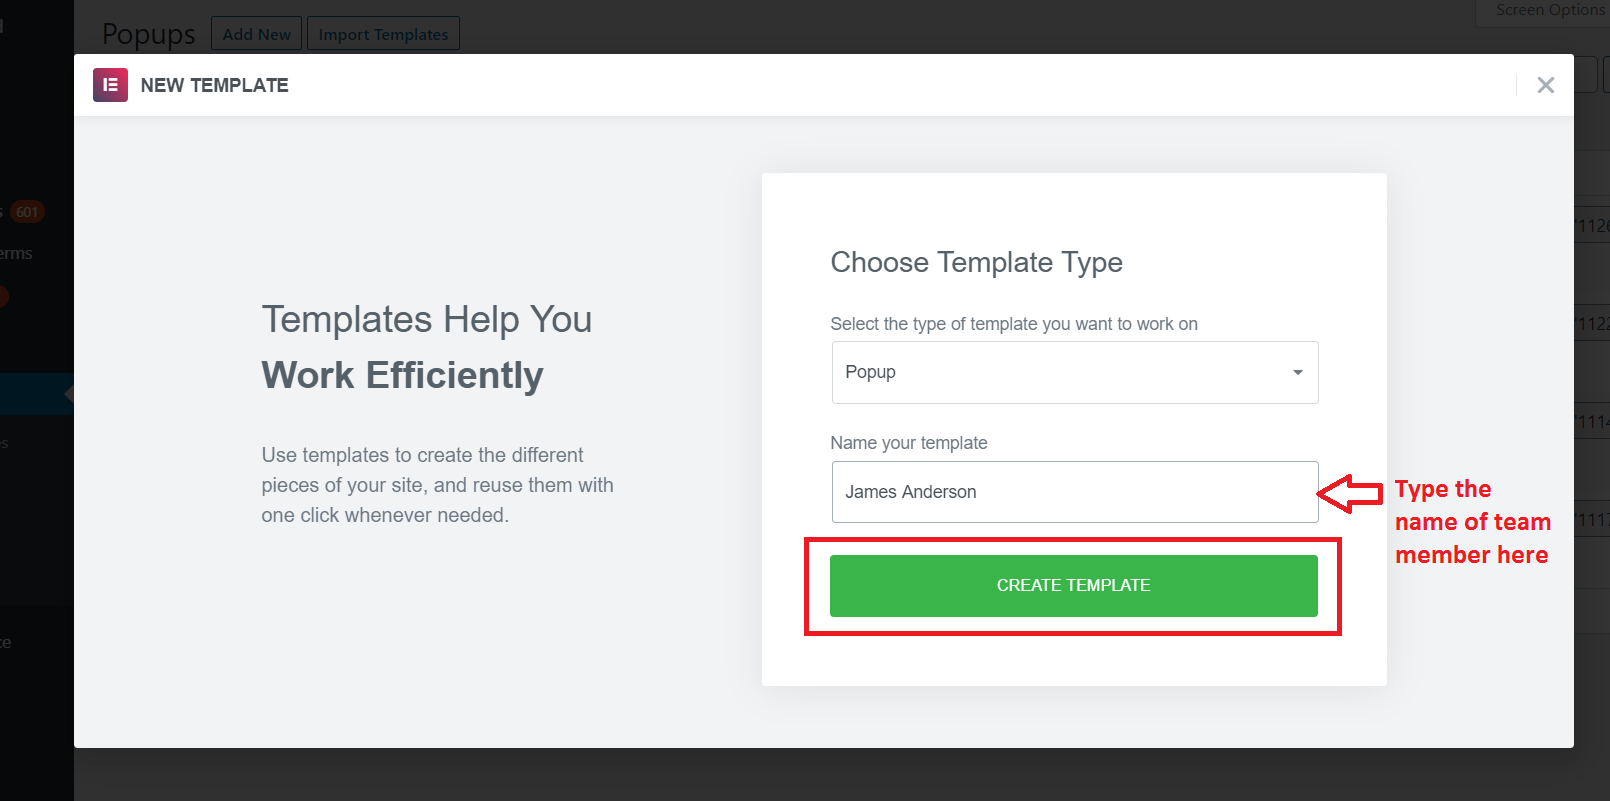
STEP 3: Add a new popup
Now simply add a new popup, give the popup the name of a team member. Here we have three team members, so there will be three separate popups for each team member, please have a look at the screenshots below to get an idea.
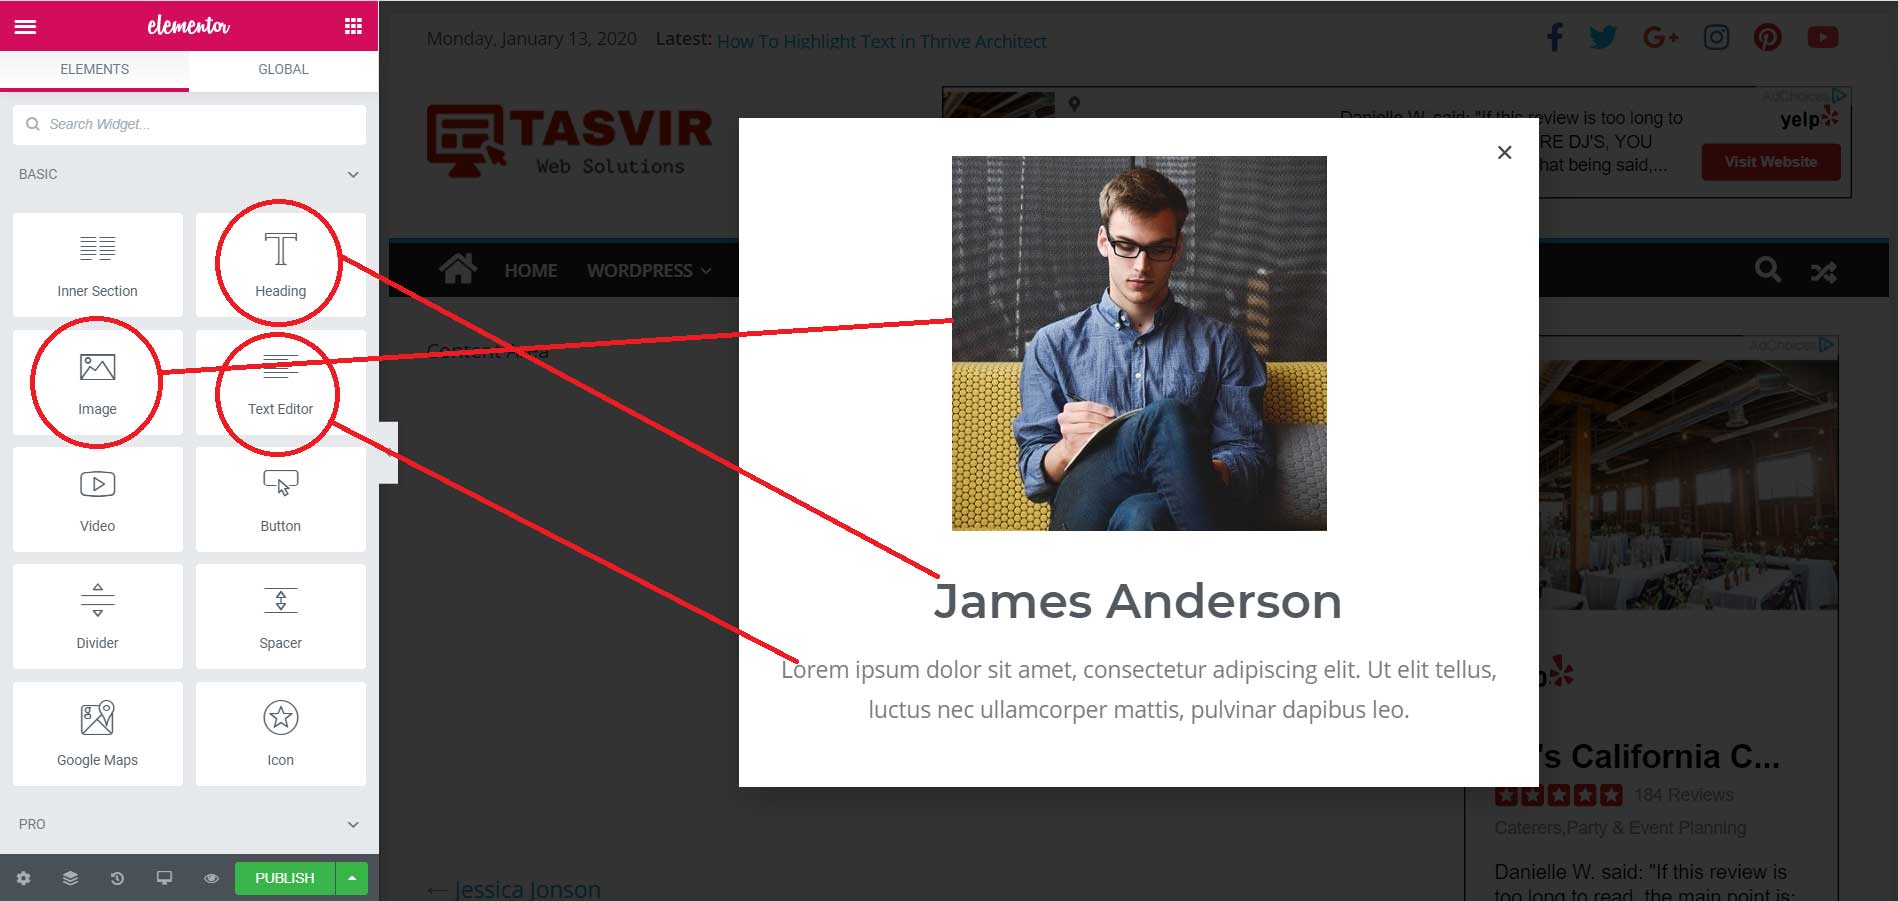
STEP 4: Edit the popup to insert team member info
Now simply edit the popup to insert the detailed information about the team member. Insert the image, title, and description. You can also insert social links and other elements to your preference. No need to use any templates, such start from scratch.
STEP 5: Publish the popup (important)
This step is very important, because after you click on publish, you will have to go through some configurations, to make sure that the popup only shows up when someone clicks a specific button and doesn’t randomly popup any where else on your website. The following below is a slider showing the different screenshot steps for publishing the popup. Please follow the steps serially, use the navigation arrows or dots to browse through the screenshots of the steps.
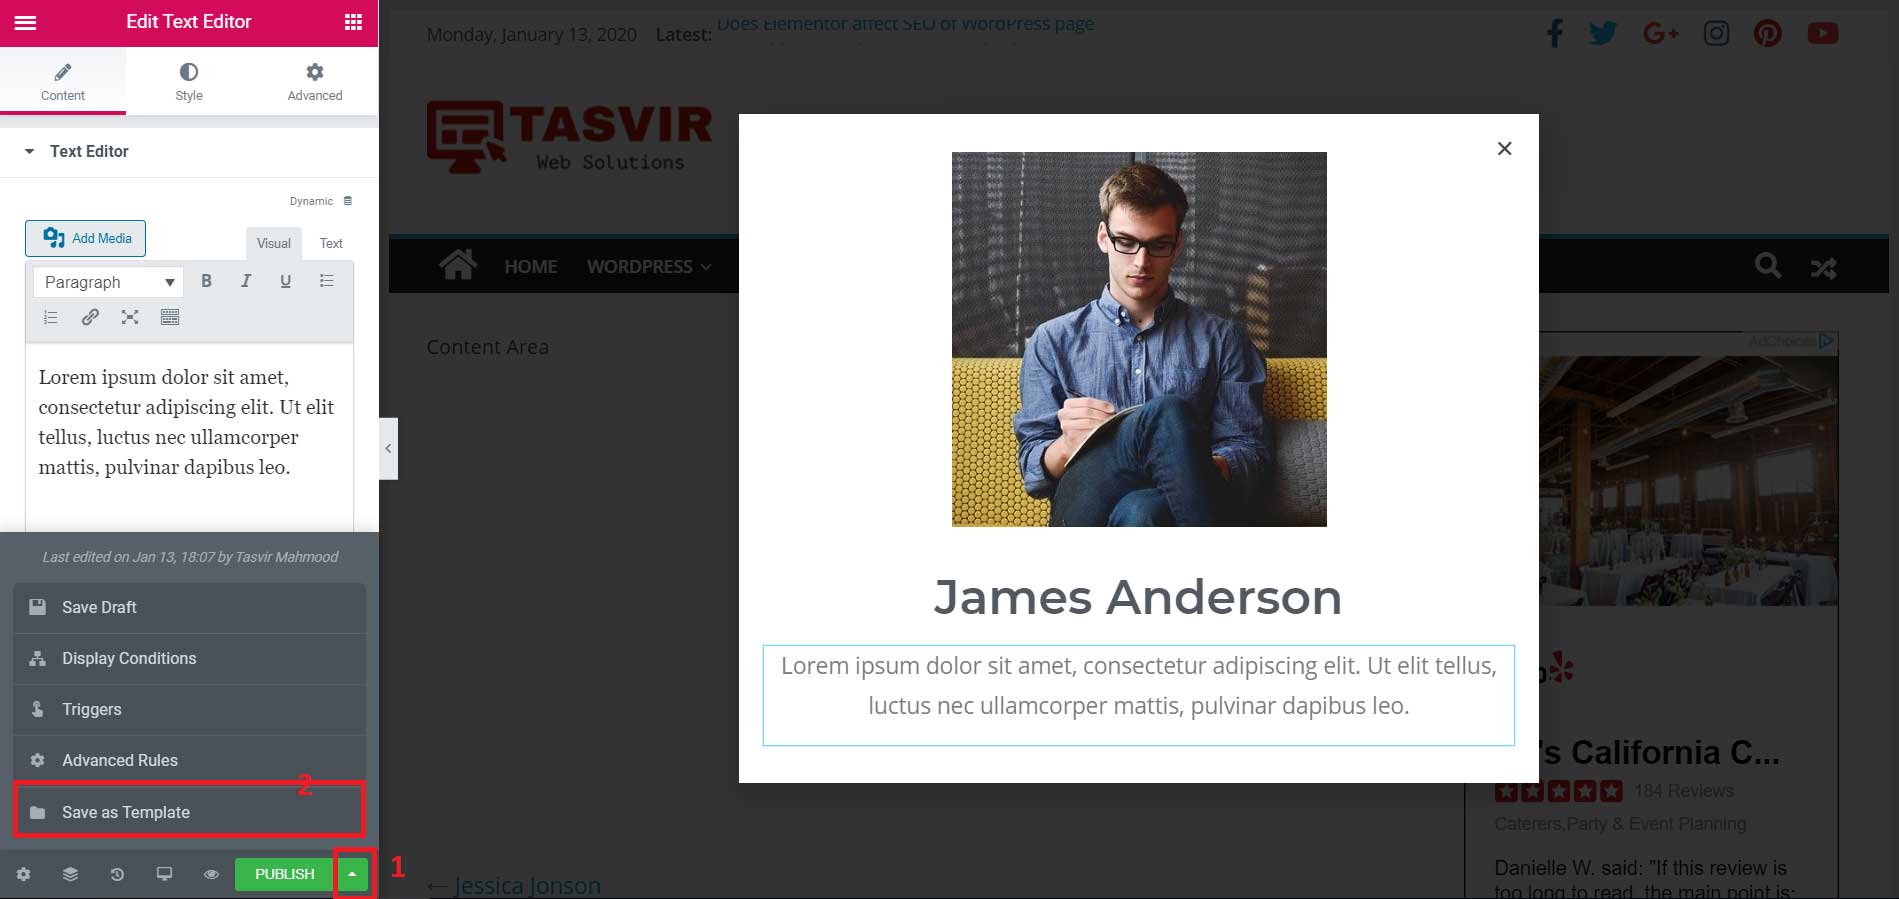
STEP 6: Save the template of the popup
In order for you not to make the same popup from scratch for the other two team members, save the current popup as a template so you can use it for making the popups for other two team members.
STEP 7: Connect each of the popups with the buttons (important)
I am once again marking this step as important because this is what I was most confused about, but now I am completely clear of how to do it. So let’s do a quick review, we have made a page with three team members, we have made separate popups for each of the member, we also have a dedicated button for each of the member. All now we have to do is to make the settings so each of the button shows the correct popup of the respective member. Below is a slider which has 5 screenshots of all the steps needed to connect each button with the respective popups. Please have a look at them serially and connect the buttons with their respective popups.
Conclusion
So in this blog post we have implemented a very interactive system to view more detail about each of the team member. If you have gone through the whole blog post step by step, then by now you have already learned a very valuable skill about Elementor. The main thing you have learned is how you can trigger popups in Elementor on click only.
My Elementor Pro Services
- Desiging Websites & Landing pages with Elementor
- Making full websites, or rebuilding existing websites with Elementor
- Making custom header, footer, blog page & custom blog posts with Elementor
- Making existing Elementor landing pages mobile responsive