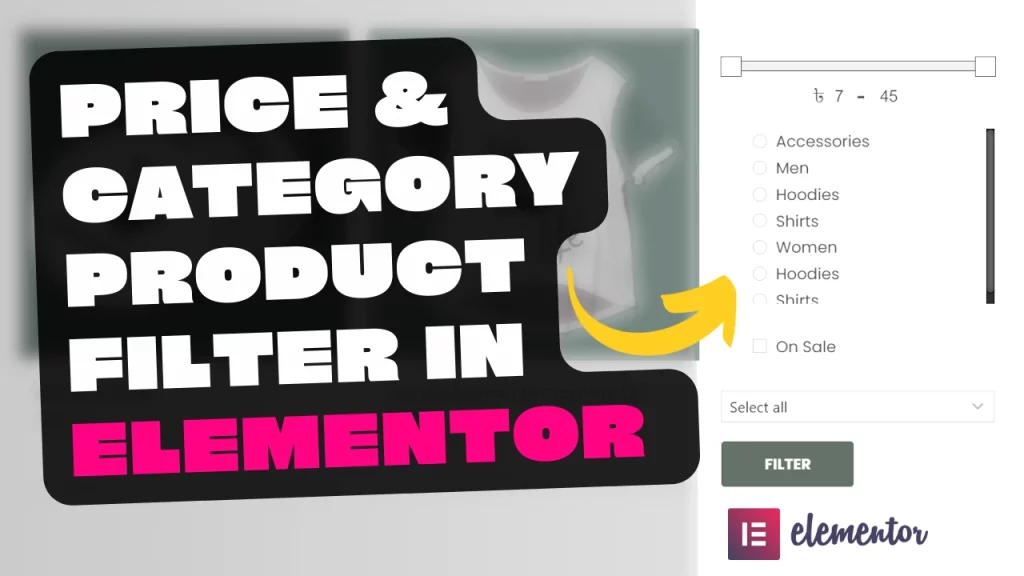
In this blog post, we’ll delve into the process of adding a product filter in Elementor, a powerful WordPress page builder. By incorporating this filter, you can enable your website visitors to refine their product searches based on various criteria such as price, product categories, and sale items. We’ll also guide you through the installation of a free plugin that simplifies the entire process.
Getting Started with Product Filtering
In the accompanying YouTube video, we demonstrate how to create a product filter that enhances the shopping experience on your WooCommerce shop page. This feature allows users to easily sort and view products according to their preferences. We’ll cover several key aspects, including filtering by price range, product categories, and sale status.
Filtering by Price Range
One of the essential functions of a product filter is sorting products by price. In the video, we showcase how to set up a price filter. You can define a minimum and maximum price range, allowing customers to view products that fit within their budget. This feature provides a convenient way for shoppers to narrow down their choices.
Filtering by Product Categories
Product categorization is crucial for efficient online shopping. With the product filter we demonstrate, customers can select specific categories to explore. This simplifies the browsing process and helps them find products that match their preferences. For instance, you can easily filter products designated for women, accessories, or other specific categories.
Identifying Sale Items
In addition to price and category filtering, our product filter enables customers to view items currently on sale. This is a valuable feature for bargain hunters, as it allows them to quickly identify discounted products and take advantage of special offers. The filter will display products with reduced prices and indicate the percentage of savings, making the shopping experience even more appealing.
Installing the Free Product Filter Plugin
To implement this product filter on your Elementor-created WooCommerce shop page, you’ll need to install a free plugin called “Product Filter by ubu.” The plugin simplifies the process of creating and customizing filters to suit your website’s needs. It offers a range of parameters, including price, product categories, sale status, product attributes, author, and more.
Creating Your Custom Product Filter
After installing and activating the plugin, you’ll have access to its settings. In the video, we guide you through creating a custom product filter. You can define the filter’s name and select the parameters you want to include, such as price, product categories, sale status, and stock status. This step allows you to tailor the filter to match your website’s product offerings.
Adding the Filter to Your Shop Page
Once you’ve configured your custom product filter, you can easily integrate it into your Elementor-created shop page. We demonstrate how to do this by adding the filter element to the page layout. You’ll be able to select your custom filter from the drop-down menu and instantly make it available to your website visitors.
Testing Your Shop Page with the Product Filter
Finally, we encourage you to test your shop page to ensure that the product filter functions as intended. In the video, we showcase how the filter works by setting various criteria, such as price ranges and product categories. You’ll see how products dynamically update on the page, providing an interactive and user-friendly shopping experience.
Conclusion
By adding a product filter to your WooCommerce shop page using Elementor and the “Product Filter by ubu” plugin, you can enhance your website’s usability and make it easier for customers to find the products they desire. This powerful tool allows you to offer a more personalized shopping experience, increasing user satisfaction and potentially boosting sales. We hope this blog post has been informative and that it helps you implement a product filter that benefits your online store.

